We Have a Website!

Hi everyone!

First I’d like to sincerely thank you all for being kind enough to read, follow and share my blog posts – it has been great sharing with you all!

I’ve decided to expand my little ol’ blog and take it to the next level by moving to a website and of course it’s called EssieDoesSummer.com! Click on to see the new layout (much easier to read and navigate) and see what I’m up to next. You can also shop my products, subscribe to the newsletter and much more. Also: FREE STUFF!

I’m very excited to take Essie Does Summer in a new, bigger direction and could NOT have done it without you. SO here’s to everyone!

As always, keep updated and stay connected at:

Instagram: instagram.com/essiedoessummer

Facebook: facebook.com/essiedoessummer

Tumblr: essiedoessummer.tumblr.com

Peace and love,

Essie

Strawberry and Riesling Summer Slushy

slushy

There’s no better combination than wine and a sweet treat! AND it’s even better on a hot summer day. These aren’t your regular slushies though, as they combine dry white wine with strawberries – not for the little ones!  I made this after a day of walking around New York city and it was far more refreshing than I could have ever imagined. I’m thinking of making this for my summer rooftop brunch, but rooftop + sunshine might not bid too well for the slushies wellbeing. Also I’m in a constant debate with myself whether to say ‘slushy’ or ‘slushie’ – any ideas on which is actually correct?

What you need:

5-6 pitted and washed strawberries

1 cup riesling

2 cups ice

And all you need to do is blend blend blend! If you would like to save some of this for later, a good way to store it is to pour the slushy/ie mix into an ice tray and re-blend when you’re ready.

This is an easy one so get to blending! I hope you guys enjoy 🙂

Stay cool,

Essie

Bacon and Parsley Poutine

Poutine is awesome, period. I learned not long ago that this dish originates from Quebec, Canada (bless their hearts), but the first time I actually ate it and subsequently fell in love, was in Jamaica. Fun fact huh!? The dish is basically french fries topped with gravy and cheese curds. Once you have these three basics you can literally experiment with different additions of meats, vegetables and spices – endless possibilities! It’s mainly thought of as a snack or side, but a wise person once told me that you can make anything a main dish if you just eat enough of it.

IMG_1961

My version is made without the cheese curds – because I didn’t have any – but grated or chopped mozzarella would do the trick really. This is also the quick/cheat version of making it and I’m sure you’ll all appreciate how easy it is. The only thing you really have to do is to make the gravy. Everything else you just stick in the oven or fry!

What you need:

Frozen french fries

Grated or chopped mozzarella cheese

Fresh parsley, chopped

Bacon, chopped into small pieces

For the gravy:

1 tbsp butter

1 tbsp flour

1 cup chicken stock (if you don’t have this substitute with a bouillon cube soaked in a cup of water)

2 tsp finely chopped garlic

Handful of chopped onion

Dash of ground black pepper

-I started by making the fries in the oven as directed and cooking the bacon in there too. While this was in process, I made the gravy.

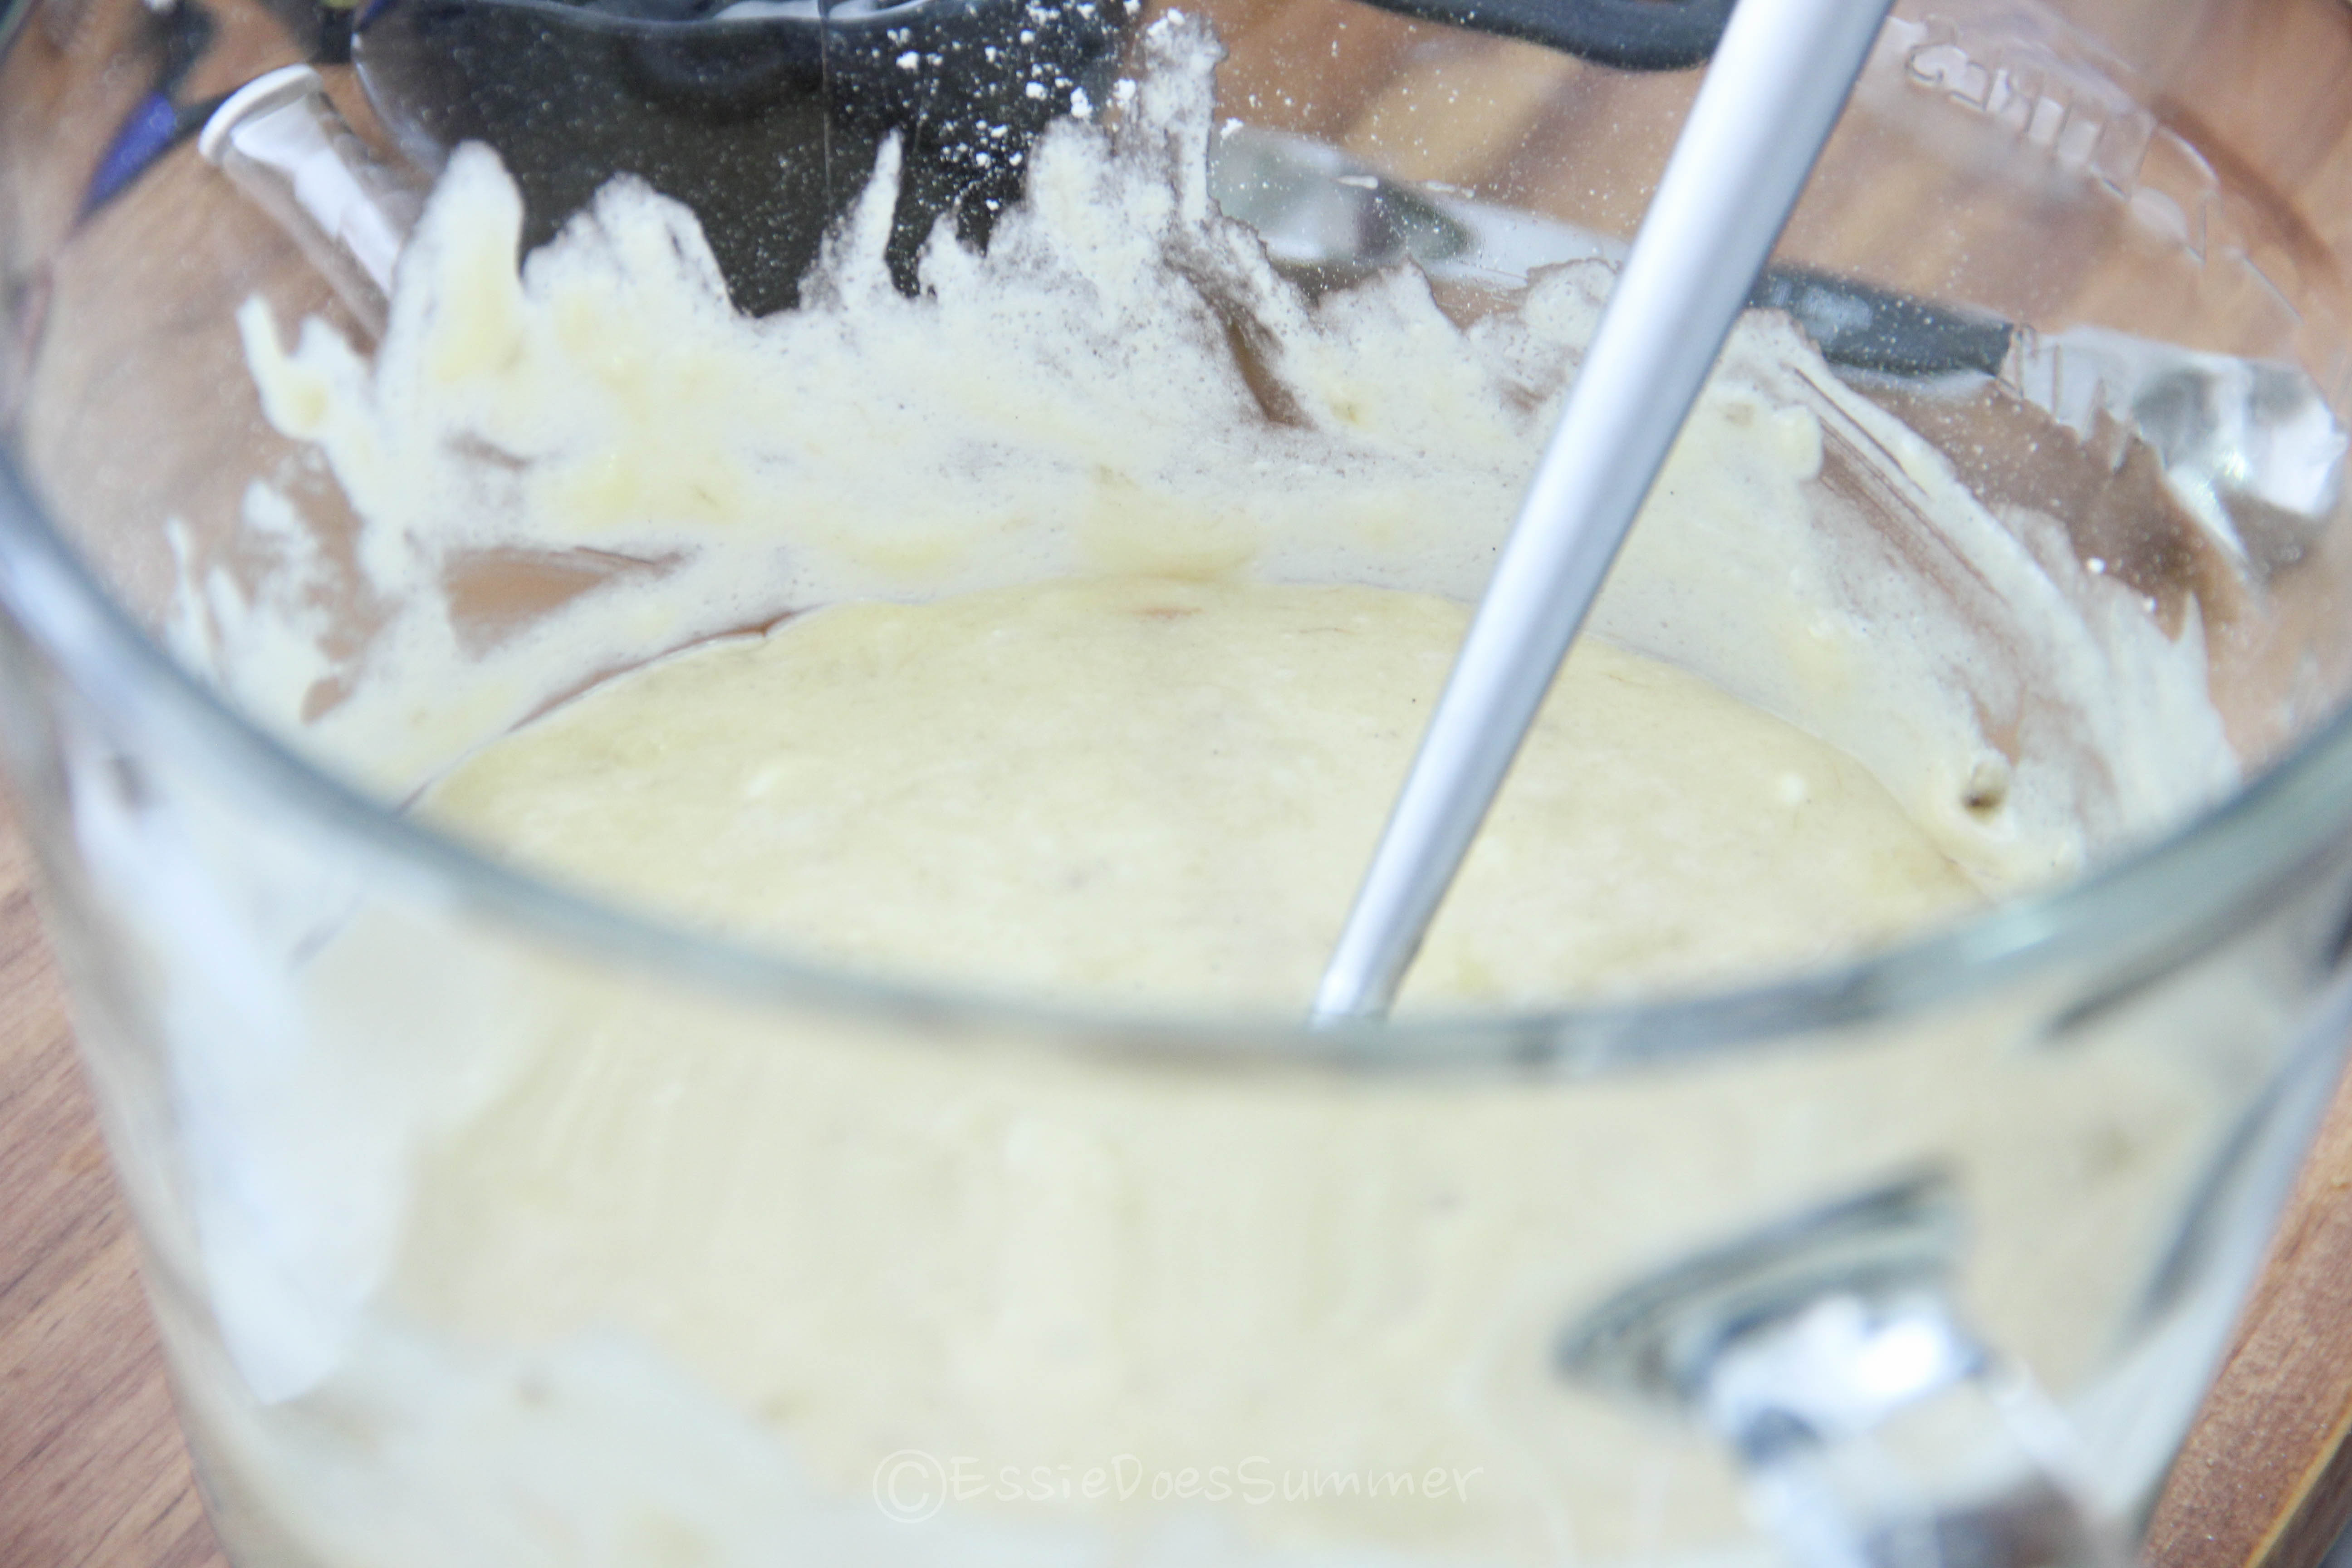
1. To make the gravy, melt butter in a small pan and whisk in the flour. Stir for 1 minute.

2. Add the rest of the ingredients and whisk until you get a smooth gravy. This only takes about 11 minutes total.

3. After the gravy is done take out your fries and put them on a plate. Sprinkle half the bacon on the fries.

4. Cover with the gravy then add the rest of the bacon.

5. Sprinkle mozzarella cheese and parsley on top.

IMG_1960 IMG_1963

…AAAAnd it really is that simple. I’m thinking of making a pulled pork poutine soon and maybe a spicy one. Let me know how you like this recipe! Happy Saturday.

Happy eating,

Essie

DIY Floral Letter

Hi guys!

So I received a picture from someone who asked if I could make giant floral letters for her wedding. Of course I’m always willing to take up a challenge so I said yes! It didn’t seem like much work and it looked like it could be fun to do. So to prepare for that, I created this DIY of a smaller floral letter. It cost basically nothing to make since all the flowers were on sale for dirt cheap Michael’s. Read on for the how-to!

IMG_6471

What you need:

Large piece of cardboard

Pencil

Scissors

Glue

IMG_1914

First I traced the letter I wanted on the card, then cut it out. The lines don’t have to be straight because they will be covered with the flowers.

Cut the flowers off the stems.

Glue on the flowers strategically on your cardboard letter. A good way to do this is to start by sticking on the larger flowers then filling in with smaller ones. Make sure it isn’t sparse!

This really is an easy DIY if you plan out your flower placement well. I used my large floral ‘E’ to decorate my workspace and I love it! Any questions, comments or suggestions? Hit me up below!

IMG_1916 IMG_1925

Ya flowerchild,

Essie

Watermelon – Lime Agua Fresca

Today I had visions of being back in beautiful Quintana Roo, Mexico, and I missed it so much that I decided to make aqua fresca. I drank this by the gallon while I was in Mexico – it’s so good! I recently got to try some pineapple aqua fresca in Brooklyn but it didn’t even compare. Agua fresca literally means “fresh water”; it’s somewhere between a smoothie and juice, and it’s made by blending fruits, flowers, seeds and or spices.

IMG_1928-2

What you need:

4 cups freshly cubed seedless watermelon

1 1/2 cup water

2 tbsp honey or agave

1/3 cup lime juice

Combine all your ingredients in a blender and process for 20-30 secs. Your drink should look a little but like fruit juice; if it’s too thick add some more water.

It’s extremely light and refreshing and perfect for beating the summer heat. This is best served ice colddddd!

DIY Lavender and Rose Body Scrub

Hi guys! This one’s a quick and easy gift idea – and is perfect for Mother’s day! Making it yourself means you can use all organic/natural ingredients like I did, and also use ingredients the gift recipient will love. I made mine with rose and lavender because they smell good, are relaxing and help with all types of skin issues. I also used Himalayan pink salt because of its pretty color and all of its known healing properties. You could use regular salt though. Most of the ingredients I used were bought at a grocery store!

You’ll need:

1 cup Himalayan pink salt

3/4 cup pure almond oil

1 tsp ground rose petals – ordered from Amazon!

1 tsp ground dried lavender – find these at whole foods and many other grocery stores

6-7 drops lavender essential oil (not pictured)

IMG_1872

1. Mix all your dry ingredients together in a bowl.

2. Add almond oil and lavender essential oil and mix well so that all the salt grains are moist with the oil. Transfer into a jar and seal.

Guys, this really took me less than 10 minutes to make so it’s a really great last-minute idea. It smelled heavenly so I decided to make more to keep for myself. This mixture is self-preserving so you could literally keep it for 3-4 months without anything happening to it! I hope you guys make this and try it out on your skin – it leaves it soft and seriously moisturized.

IMG_1875 IMG_1876 IMG_1871

P.S. For people who have drier skin, replace the almond oil with coconut oil because it’s a slightly heavier oil.

Brb gonna scrub my bodayyyy LOL.

Ya smooth-skinned girl,

Essie

Gold Animal Fridge Magnets

I have said it before but let me repeat it for everyone who hasn’t noticed yet – favorite color is gold. #Allgolderrthang. My obsession led me to make these fridge magnets to make a very simple thing like a fridge look jazzed up. I previously had some pretty crappy magnets so these were a breath of fresh air as they are sturdy enough to actually hold things up.

IMG_1784

I’m perpetually stocked up on gold spray paint so that was one thing I did NOT have to buy for this DIY! Everything else I needed I bought on Amazon and the whole project cost me very little in ca$h and even less in time. I used those little animal toys that little kids get in party bags ie. the ones for play zoos – major throwback for me.

You’ll need:

Newspaper to prevent messes

Plastic Safari animals (get them here)

Gold spray paint

Round 1/2 inch magnets

Superglue

IMG_1780

1.Lay out your newspaper in preparation. Spray the animal figurines with gold spray paint making sure to cover both sides and corners thoroughly.

2. Leave the figurines on the newspaper and allow them to dry for about 30 mins.

3.Find a flat side on your sprayed animal and glue a magnet to it ( this was most complicated for the giraffe – I eventually gave up on that dude). Allow to dry for 10-20 mins till the magnet is fast secured to the animal…..aaaand you’re done!

IMG_1786 IMG_1795 IMG_1801

Remember to do this in a well ventilated area! After I first posted a picture of these fridge magnets so many people asked me for some so these would probably make a great (and easy!) gift for someone. You don’t have to limit yourself to gold spray paint – go crazy with colors! Let me know how you guys personalize these fridge magnets!

Ya golden girl,

Essie.

Banana muffins for Mama

It’s quite simple – the best way to give your mother a Mother’s Day gift that isn’t totally clichéd is to make something for her. That’s like a rule of life or something. I bought more bananas than I could possible eat, and in no time a few of them started to look sad so I decided to make the most of the situation and make something with them. I find banana bread a bit too dry for my liking so I altered a banana bread recipe to make these mini muffins with a hint of vanilla bean!

IMG_1818

You’ll need

1 1/2 cups all-purpose flour

3/4 cup sugar

1 tsp baking powder

1/2 tsp salt

3 over-ripe bananas

1/3 cup melted butter

1 lightly beaten egg

1 tsp vanilla bean paste (could substitute with vanilla extract if you don’t have this!)

Cupcake pan

Cooking/baking spray

Preheat your oven to 375.

Combine all the dry ingredients in mixing bowl. In another bowl mash the bananas, then add the butter, egg and vanilla bean paste, then fold this into the dry ingredients.

IMG_1806

Grease the cupcake tray and fill each cup about 3/4 full.

Bake for about 20mins and check to see if ready by sticking a toothpick in the center of a muffin. If it comes out clean then it’s done!

You may or may not believe me, but I’m not the best baker, so this recipe was very great for me as it was basically a three-step process. Hopefully you guys find it easy too!

IMG_1822

.

IMG_1808

Now go ‘head and make mom smile!

Ya mama’s girl baker,

Essie

Rosemary Honey Lemonade

It’s a beautiful day in New York City and I decided to make some lemonade to go with it. Now I usually settle for store-bought lemonade, especially when I’m using it for a mixed drink. But in order to make such an interesting blend of flavors like this one, the only way to go is homemade.

IMG_1763

This entire process took me about 30 minutes and most of the work was squeezing the lemons – which is surprisingly very therapeutic. I’m guess that’s where the “When life gives you lemons…” expression comes from.

You’ll need:

-1/2 cup sugar

-3/4 cup honey

-6 cups water

-A couple of fresh rosemary sprigs

-10 small lemons (or 5-6 if they are larger)

In a small pot combine the sugar, honey, 1 1/2 cup water and one sprig of rosemary. Heat until all of the sugar and honey is dissolved, then remove from the heat and allow to cool.

IMG_1760

While the syrup mixture is cooling squeeze the lemons to get about 1 cup of lemon juice.

Finally combine the syrup mixture, lemon juice and 4 1/2 more cups of cold water and you’re all done! Garnish with lemon slices and rosemary sprigs, pour over ice and enjoy. This should give you about 5 servings (of sunshine and happiness and refreshment).

IMG_1762 IMG_1765

Enjoy this chill Saturday!

P.S. One more thing; please follow @essiedoessummer on Instagram for some awesome posts!

-Ya girl, Essie

Pinch, PUNCH, first of the month: Ginger Passion Fruit Punch

IMG_1741

Apparently the saying “Pinch, punch, first of the month” is only really popular in the UK and some parts of Europe so this joke might not be as funny as I expected, awk! Due to the recent spike in my hosting of parties I’ve been making a lot of punch and I have had to experiment quite a bit. I finally figured out one of my favorite combinations, and for some reason it tasted so familiar. I later on realized it tasted just like Bajan rum punch!

Backstory: Last summer I visited the beautiful island nation of Barbados and loved everything about it – especially the rum punch. The housekeeper in the villa we stayed made it by THE GALLON. Pretty sure this punch made Rihanna who she is today.

Anyways this is my take on rum punch! It’s typically made with orange/pineapple juice but I used passion fruit as the main juice ingredient. This recipe serves 6 people. Read on for more!:

What you need:

-1 piece of Fresh ginger (peeled and chopped)

-1 large lemon

-1 tsp. Brown sugar

-1/2 tbsp. Nutmeg

-3/4 cup Malibu dark rum

-4 cups passion fruit juice

-1 can San Pellegrino orange soda (you can use any kind but san pellegrino is the business)

-Ice (as needed)

IMG_1733 IMG_1736

1. Add ginger, the juice of 1 lemon, brown sugar and nutmeg and blend until very smooth. Pour into punch bowl/container. Some people like to strain this mix to get the ginger residue out, but I keep it in there because it tastes better IMO.

2. In punchbowl, pour in the rum, passion fruit juice and orange soda and stir the whole thing. Add ice as needed. I added pre-frozen chopped pineapple to serve as ice too, so my punch wasn’t to watered down when the ice melted.

3. Garnish with fruit of your choosing – I used lemon/lime slices.

IMG_1735

The taste of this punch will send you right through spring and straight into summer. Yup it’s THAT good. The flavors balance each other out so amazingly and the ginger gives the whole thing a punch (sorry about the lame jokes guys LOL). I hope you enjoyed reading, and I really do hope you try it!

-Essie